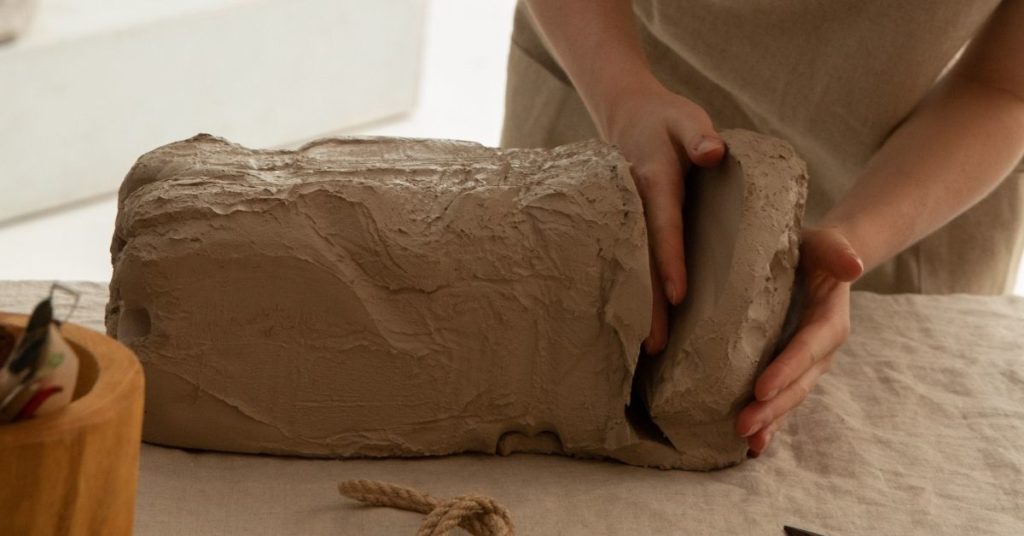
Wedging clay is the process of preparing clay to be used in a project by making it malleable, distributing moisture evenly, and removing air bubbles.
In this article, we’ll cover one of the four techniques of wedging called stack and slam wedging.
What is stack and slam wedging clay?
Stack and slam wedging is a process where you place two bricks of clay on top of each other and throw the stacked clay on a steady surface.
The stack and slam method produces perfectly uniform clay and mixes clay of different moisture content and color quickly.
What you’ll need to get started
- block of clay
- cutoff tool
- large canvas board (optional)
How to wedge clay with the stack and slam technique
How much clay should I work with?
One of the great benefits of the stack and slam method is that you can do large quantities in a short period of time. There isn’t a limit to the amount of clay you should start with. It comes down to how much you can lift and throw down over and over again. 🙂
If you’re working on a precise project, weigh out your brick of clay. Then cut to the right size using a cutoff tool.
The clay should either be in a cylinder or block shape to start. You can carve a block of clay from your stored clay using a cutoff tool.
The stack and slam wedging technique
I like to use a clean and large canvas board to prevent the clay from sticking to the surface or anything (debris, crumbs, etc) sticking to the clay.
Start with two blocks of clay next to each other on your surface. Pick up one of the blocks and slam (throw forcefully) onto the other block. You’ll notice that the clay sticks together and forms a single block at this point.
Next, pick up the block and rotate it 180 degrees. The part that was just on top, should be facing downward. Throw the block forcefully down onto the surface.
With your cutoff tool, split the block into two parts and repeat what you just did.
You’ll repeat this process until the clay becomes uniform.
- Cut the clay into two blocks
- Pick up one block and slam it on top of the other
- Pick up the now-single block
- Rotate it 180 degrees
- Slam the block onto your surface
How many times should I do this?
After 5 or 10 doublings, you’ll notice the materials start to blend. At 15 to 20 doublings, the clay will start evening out. I typically complete the process 20+ times before I see an even finish inside the clay brick.
Quick note: If you’re working two colors together, take a moment to look at the pattern you see when cutting the clay. It’s a really pretty pattern.
Inspecting the clay
After I’ve wedged clay, I like to check to see if all the air bubbles and lumpiness are gone.
The best way to check for flaws is to cut the clay in half and inspect the inside. The clay should be smooth and free of pocks or holes.
The cool part of the stack and slam method is you can watch as the two clay masses become one. Especially, if the clay starts in two distinct colors.
For the more visual learners out there, watch this YouTube video from Michael Wendt.
Conclusion
stack and slam wedging is one of 4 common ways to wedge clay. If you want to see alternative methods, I recommend our piece on wedging clay.
Let us know if you have questions by emailing hello@wheelandclay.com. We’d love to hear from you!
Related articles
Did you like what you read? Great! We have more articles on the blog. Check out a few of our most related articles to the one you just finished:
Project Prep: Wheel Wedging Clay
‘


