Have you ever had a piece explode in the kiln?
What a horrible feeling!
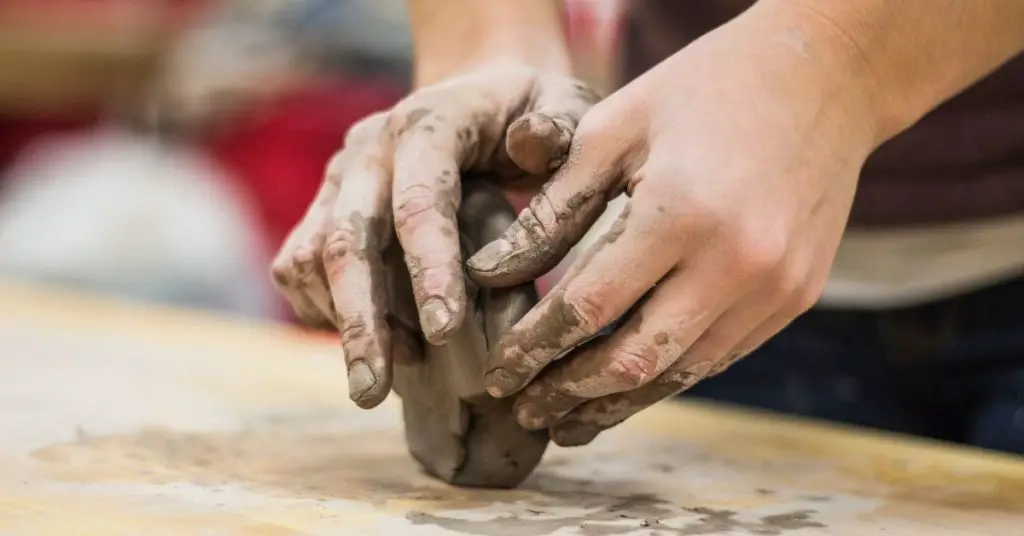
If you have, you’re probably wondering what went wrong. My guess (and it’s only a guess) is that it comes down to wedging clay. You might be wondering… what does it mean to wedge clay?
In this article, we’ll cover why it’s important, how to wedge clay, and how to avoid a disastrous end to your projects.
Let’s get to it.
What is wedging clay?
Wedging clay is the process of preparing clay to be used in a project by making it malleable, distributing moisture evenly, and removing air bubbles.
Wedging is typically the first thing you do with clay when starting a project. It’s an important step. Wedging prepares the clay to be formed and bonds the particles in your clay material.
Why wedge clay?
So why is it important to wedge clay? Here are three reasons:
1. Wedging gets rid of air bubbles and lumps
Oh no… the dreaded air bubble!
You may have heard that air bubbles in your clay can lead to a disaster in the kiln. Air bubbles build up in clay that sits dormant. Proper wedging helps to exercise the air bubbles out.
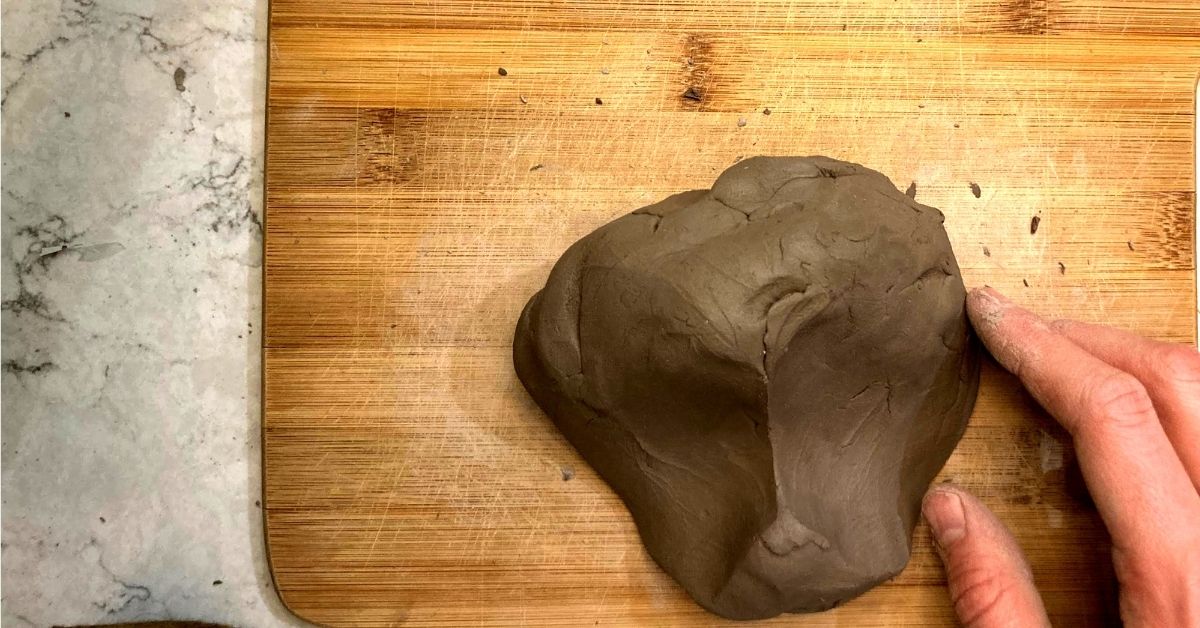
Kneading the clay in a wedging pattern also removes lumps. While clay lumpiness won’t result in a kiln explosion, it can make it harder to form the material the way you want it.
2. Wedging softens the clay
The wedging process gives you soft clay making it easier to work with. Wedging helps clay particles to bond, making your clay more flexible or plastic. Without the plastic state, it would be difficult to form anything out of the clay.
3. Wedging distributes moisture evenly
A key component to working clay is how much moisture it holds. You want the clay to dry evenly to avoid a crack in your pottery. But like anything, moisture can pool in a few locations.
Wedged clay distributes the moisture through the clay making it a homogeneous mass during the pottery drying period.
Getting set up
Make sure you have the right surface. You want to avoid having a surface that would cause the clay to stick. I will often use a large canvas board or a wedging board to keep surfaces clean and to prevent the clay from picking up any materials. You can often find something that works at a hardware store. I’ve seen some use more common things like plaster board as a wedging surface.
Tip: If you go to a pottery studio, you might have access to a wedging table. Look for it next time you’re there. It’ll be a good surface for wedging and will save your back a good deal of pain!
Wedging can take a while and takes some muscle! A tip that will help is to use your body weight and not just your arms.
How to wedge clay
There is a variety of wedging techniques that best ensure the clay is ready to be worked into a piece.
Here are the four most common (plus, a bonus option).
1. Ox-head or ram head
Ox-head wedging is a process where you press with the palms of your hands and rotate the clay repeatedly.
It’s called the ox-head method (or sometimes ram’s head wedging) because of the form the clay takes.
Click here to visit our blog covering the ox-head wedging method.
2. Spiral wedging
The Spiral wedge technique is where the potter kneads in a circular or spiral motion. You’ll take the clay and twist in a clockwise or counter-clockwise motion. The clay will take on a spiral shape. Keep at it until the clay is well-mixed.
We have a whole blog on spiral wedging which you can find here.
3. Wheel wedging
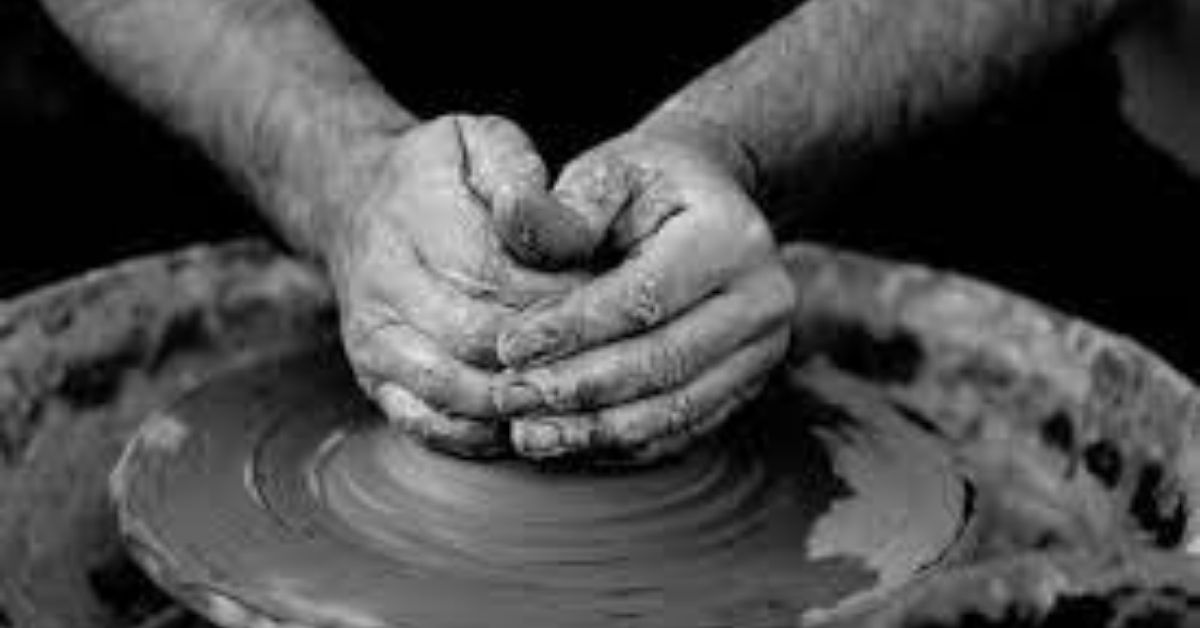
Wheel wedging is a technique used to prepare a clay body for throwing a vessel. You’ll use the pottery wheel instead of using your body weight and arm strength.
The process is to make make your clay clump into a cone shape on the wheel, pulling the clay at the bottom to the top. Repeating this process allows the clay particles to align and the material to become more plastic. I see most potters employing this technique when they are wheel throwing a lot of the same thing. Say a batch of the same coffee mug or the same bowl.
Click here to visit our blog covering the wheeling wedging method.
4. Stack and slam wedging
Stack and slam wedging is a process where you place two bricks of clay on top of each other and throw the stacked clay on a steady surface. A lot of potters refer to this wedging technique as wire wedging. And that’s because you’ll split a piece of clay in two using a cutting wire (or wire tool) between each “slam” (see the video down below. It will all make sense).
The stack and slam method produces perfectly uniform clay and mixes clay of different moisture content and color quickly.
Here’s a great example from Michael Wendt on YouTube.
Click here to visit our blog covering the stack and slam method.
Bonus: Pug mill (you fancy)
Tired of working the clay? There’s a machine for that.
A pug mill or a pug mixer is a clay wedging machine that mixes clay for you. A machine can do a better job de-airing and working out the lumps. It’s obviously the best way to wedge, but these machines are pricey. You can check one out on Blick’s website.

I honestly haven’t seen a machine like this except in large studios and bigger pottery operations. My college art department didn’t have one when I was in school and my neighborhood pottery studio doesn’t have one either.
Things to avoid when wedging clay
For better results, stay consistent in how hard you push down. You want to avoid squishing the lump of clay in a couple of rounds of wedging. Instead, it’s better to have an even consistency with each touch. Take your time with lighter pressure to do it right. And yes, it does take a long time to do wedging right, but it saves you so much pain in the long run!
It’s easy to start folding the clay over onto itself. Don’t! Folding the clay creates air pockets. Be sure you’re pushing the clay in.
Conclusion
It’s so important to ensure the condition of your clay is ready to be shaped into a pot. Whether you choose the ram’s head wedge or you decide to wedge on the wheel, it’s the first step to having a successful project.
As a reminder, there are four wedging techniques: (1) ox-head wedging, (2) spiral wedging, (3) wheel wedging, and (4) the stack and slam method. If you have the funds or the access, a pug mill will do the work for you.
If you have questions about wedging, reach out! We’d be happy to help – hello@wheelandclay.com.
Related Articles
Did you like what you read? Great! We have more how-to articles on the blog. Check out a few of our most popular:
How to Kintsugi: Fix Broken Pottery The Japanese Way
How to choose pottery clay for your next project