Picture from Unsplash by Random Institute
Wedging clay is the process of preparing clay to be used in a project by making it malleable, distributing moisture evenly, and removing air bubbles.
In this article, we’ll cover one of the four techniques of wedging called wheel wedging clay.
What is wheel wedging clay?
Wheel wedging prepares the clay by utilizing the wheel to remove air bubbles and distribute moisture evenly.
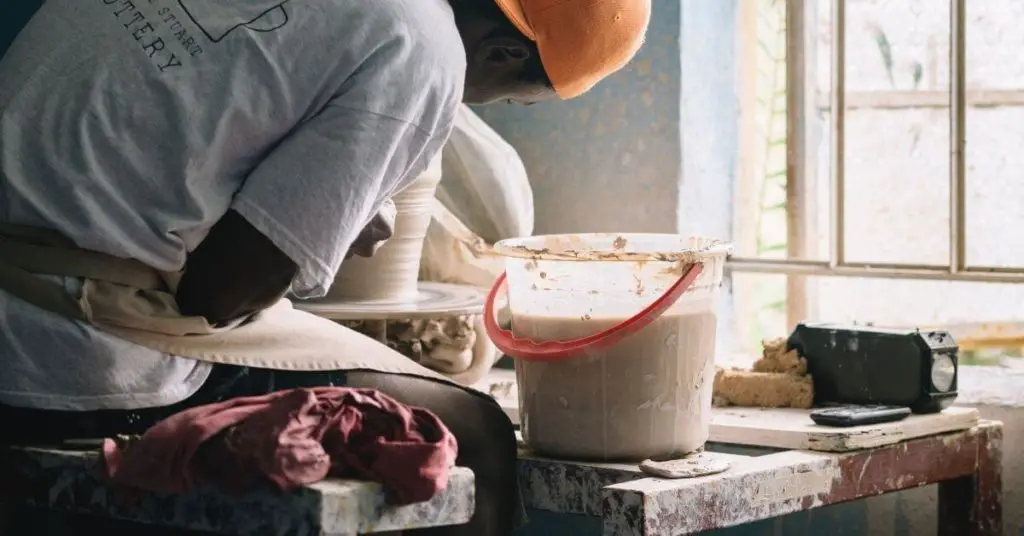
What you’ll need to get started
- a throwing wheel
- block of clay
- cutoff tool
- a sponge
- a water in a basin large (or shallow) enough to dip your fingers in
How to wedge clay on the wheel
Preparing the wheel and clay
First, cut the clay into the proper size for your project with a cutoff tool. You may need to weigh the clay clump, depending on how precise your project is.
Next, dip your sponge into your water basin and add water to the wheel.
The easiest way to do this is to turn the wheel on at a low speed and hold the sponge in place just outside of the wheel’s center.
Lastly, slap your clump of clay onto the center of your wheel. Do your best to center the clay on the wheel. The water you added with the sponge gives you a short window to center the clump onto the wheel.
Wheel wedging clay
Turn the wheel on to a fairly high speed.
Wet your hands by dipping your fingers into the basin. You don’t want a ton of water. You can always add water, but you have to wait for the clay to dry if you add too much.
With your hands wet, touch the clay around the sides wetting the clay.
Then, move to the top of the clump of clay and press down as the wheel is spinning. You’ll see the clay spread out on the wheel taking more space.
Creating a cone shape
The next step is to work the clay clump into a cone shape. The cone should have a larger base and a slimmer top.
Start by putting your hands on the side of the clay clump pressing firmly (but not hard!). Slowly, move your hands up towards the top of the clay.
How easily the cone takes shape depends on the moisture content and plastic-ness of your clay. If the clay is plastic, the cone will form quickly.
You want to avoid having a concave or divot at the top of your cone. A divot will create a section that is weak and allows air bubbles to form. If a divot does appear, address it immediately.
To do so, add pressure to the top of the cone flattening the clay. The clay will return to the blocky shape you started with. Then, place your hands on the side of the clay again working the clay into a cone.
Working the clay to become more plastic
Now that you’ve created the cone, you want to rotate through the clay to wedge it. This gives the clay particles time to align.
To do this, bring the clay from the bottom to the top of the cone by following the next steps.
- Dip your hands in water if the clay needs to be moister.
- Put your hands on the side of the clay cone at the bottom nearest the wheel.
- As the wheel spins, gently press your hands into the clay and move your hands up towards the tip of the cone.
- Repeat steps 1-3 a handful of times
- Lastly, press from the top of the cone to flatten into a block again
I would repeat this process at least two more times
- creating the cone
- pulling clay up to the top from the bottom
- flattening it
Proper wedging can save you a lot of pain down the line. Repeating the three steps sets you up for success.
Slow and steady wins the day
Your motion on the wheel should be slow and steady.
Never rush to press the clay down or to form the cone. Let the wheel and the consistent pressure do the work. This will save your arms, but also will better prepare the clay (wedging) for throwing.
Conclusion
Spiral wedging is one of 4 common ways to wedge clay. If you want to see alternative methods, I recommend our post on wedging clay.
Let us know if you have questions by emailing hello@wheelandclay.com. We’d love to hear from you!